I’ve been working on the Quaker Ridge Shawlette for awhile. Actually the main knitting has been done for a few weeks, but I am doing the beaded bind-off, and it is pretty much taking me forever. It’s kinda slow going, but it’s going to be worth it. I am loving how it looks.
The pattern included links to a couple of good video tutorials on how to do this bind-off. The Knit Girllls recorded one: Superfloss bind-off. There’s another one from Nelkin Designs too: Beaded Bind-off. When I am trying to learn something new it can be helpful to me to be able to watch a video and also look at a tutorial that consists of narrative and pictures. This beaded bind-off can actually be done with a very small crochet hook or with Superfloss. I did find a crochet hook tutorial that was pictures and text, but I couldn’t find one that described the superfloss technique. I was able to figure it out with the video, but I thought I’d share pictures of how I did it – it’s not hard at all.
I had no clue what Superfloss was. Apparently it’s some kind of heavy duty dental floss. You can find it about anywhere I think. Here is what the box looks like.
The floss has this a short stiff part, a fuzzy thicker section, and then a long flossy tail. (Maybe I am the only person who has never seen this stuff before?)
So I tied a knot at the end of the long tail. Nothing fancy, I just wanted to make a knot on the end so that the beads wouldn’t fall off. The action takes place on the other end of floss.
That fuzzy part is a great place to hold the beads until you need them. It’s like this stuff was made for bead placement rather than teeth flossing.
I bought some glass beads at Hobby Lobby.
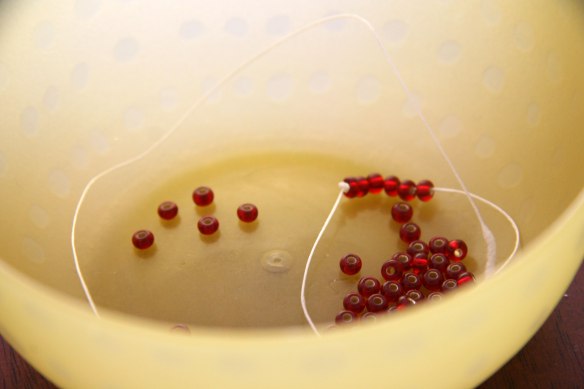
I put a bunch of beads in a little yellow bowl.
I mostly picked up the beads and put them on the floss one by one, or you can dig your floss in there and scoop them onto the stiff end as well. This works fine too. I need almost 500 beads for this ruffled edge. Egadz! (although I only put on about 15 beads at a time. Every once in awhile, I pulled out a fresh piece of floss.)
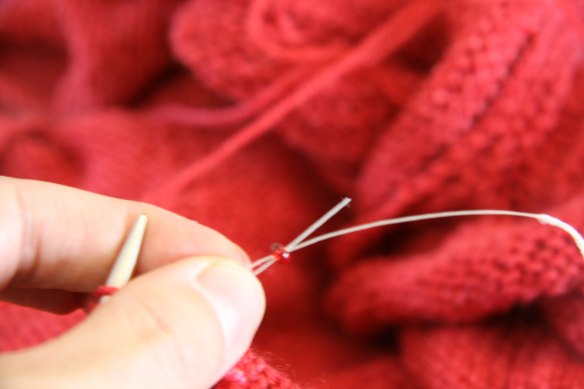
So you use that stiff end of the floss and poke the end through the first stitch on your needle.
Then you pull that stitch off the needle. Hold onto that end of floss and make a U.
Next I had to enlist Davey’s help. He helped me hold the stitch so I could take the picture. That’s his slightly grimy thumbnail. (His hand looks so big here!) See that end piece from above? You stick it through the bead. So then you have a loop.
You’ll have the floss poking through the bead.
The floss is going through the stitch as a loop and the end of the loop goes through the bead so that now the bead is going to slide down nicely over the loop. (David helped me with these pictures.)
Slide that bead on down and remove the floss.
Now take that resulting loop and put it back on the left needle. I already had one stitch on the right needle (remember this is a bind-off). I knit the stitch which has the placed bead. Then per this pattern, I moved both stitches back to the left needle and knitted together through the back of them (again leaving one stitch on the right needle). Then you just repeat. And you get a row of beaded stitches that look like this:
I hope this is helpful. I was a little confused by the process when I started. Part of this was having no clue what superfloss was and how I would use it. I’d also never beaded anything before so this was a new challenge! I’ll post pictures of the finished shawlette hopefully very soon!


