My brother and sister-in-law sent me the coolest “piggy bank” today. I’d not seen anything like it before. I love it.

I love the message on the top of it too, and the skulls with knitting needles through the head are great.

Time to start savin’!

I’ve been knitting some purple things lately. I knit my purple elfish hat. I used the same yarn to make fingerless gloves with a flap.
It was my first attempt at the flap, and it was hard to visualize how that flap should attach to the hand. Very hard. I got it though. I wasn’t overly thrilled with this pattern. It’s ok, but it’s kind of plain. More practical and sturdy really. Not that there is anything wrong with practical and sturdy.

And another to kinda show the pattern in the flip top.

I’d made these for a friend who’d very generously sent Davey some great Build-a-Bear things. (Amongst the items she sent was a bear sized umbrella. I am telling you that umbrella is a bigger hit than the bear and everything else combined. He plays with it constantly. I am afraid he will wear it out soon, and I am going to need to replace it for him.)
So anyway, I wanted to knit something a little prettier for her. I had this sock yarn in these pretty pretty purples. I love the shifts in the colors. It was a lot of fun to knit with, and it had me craving purple kool-aid and grape popsicles.

I highly recommend this pattern. Great tv watching knit. I made the arms a little longer than the pattern called for, and I like the longer look as well.

I have enough yarn to make another pair. I think I will.
And that’s a post about purpley hand coverings.
I needed a little project today to take with me to story hour. It’s 25 minutes of good knitting time! So I have this somewhat lofty goal to knit up all my yarn this year. I have a bunch of cotton that needs knitting, so I thought I’d make some dishcloths.
I remembered my friend Ronnie from Arkadelphia telling me that the best way to learn new stitches is to practice them in dishcloths. She was speaking more specifically about lace at the time. I am still scared of lace though, so I am not taking that on yet.
But I found a simple pattern that called for an easy cable. The pattern suggested doing the cable without a cable hook. It’s easier to practice if you are just trying to cable two stitches at a time as is done in this pattern. The person who wrote the pattern directed me to a great video which demonstrates how to do this.
I was always a little nervous about cabling without a needle. I had visions of loose stitches flopping everywhere. This video gave me new confidence.
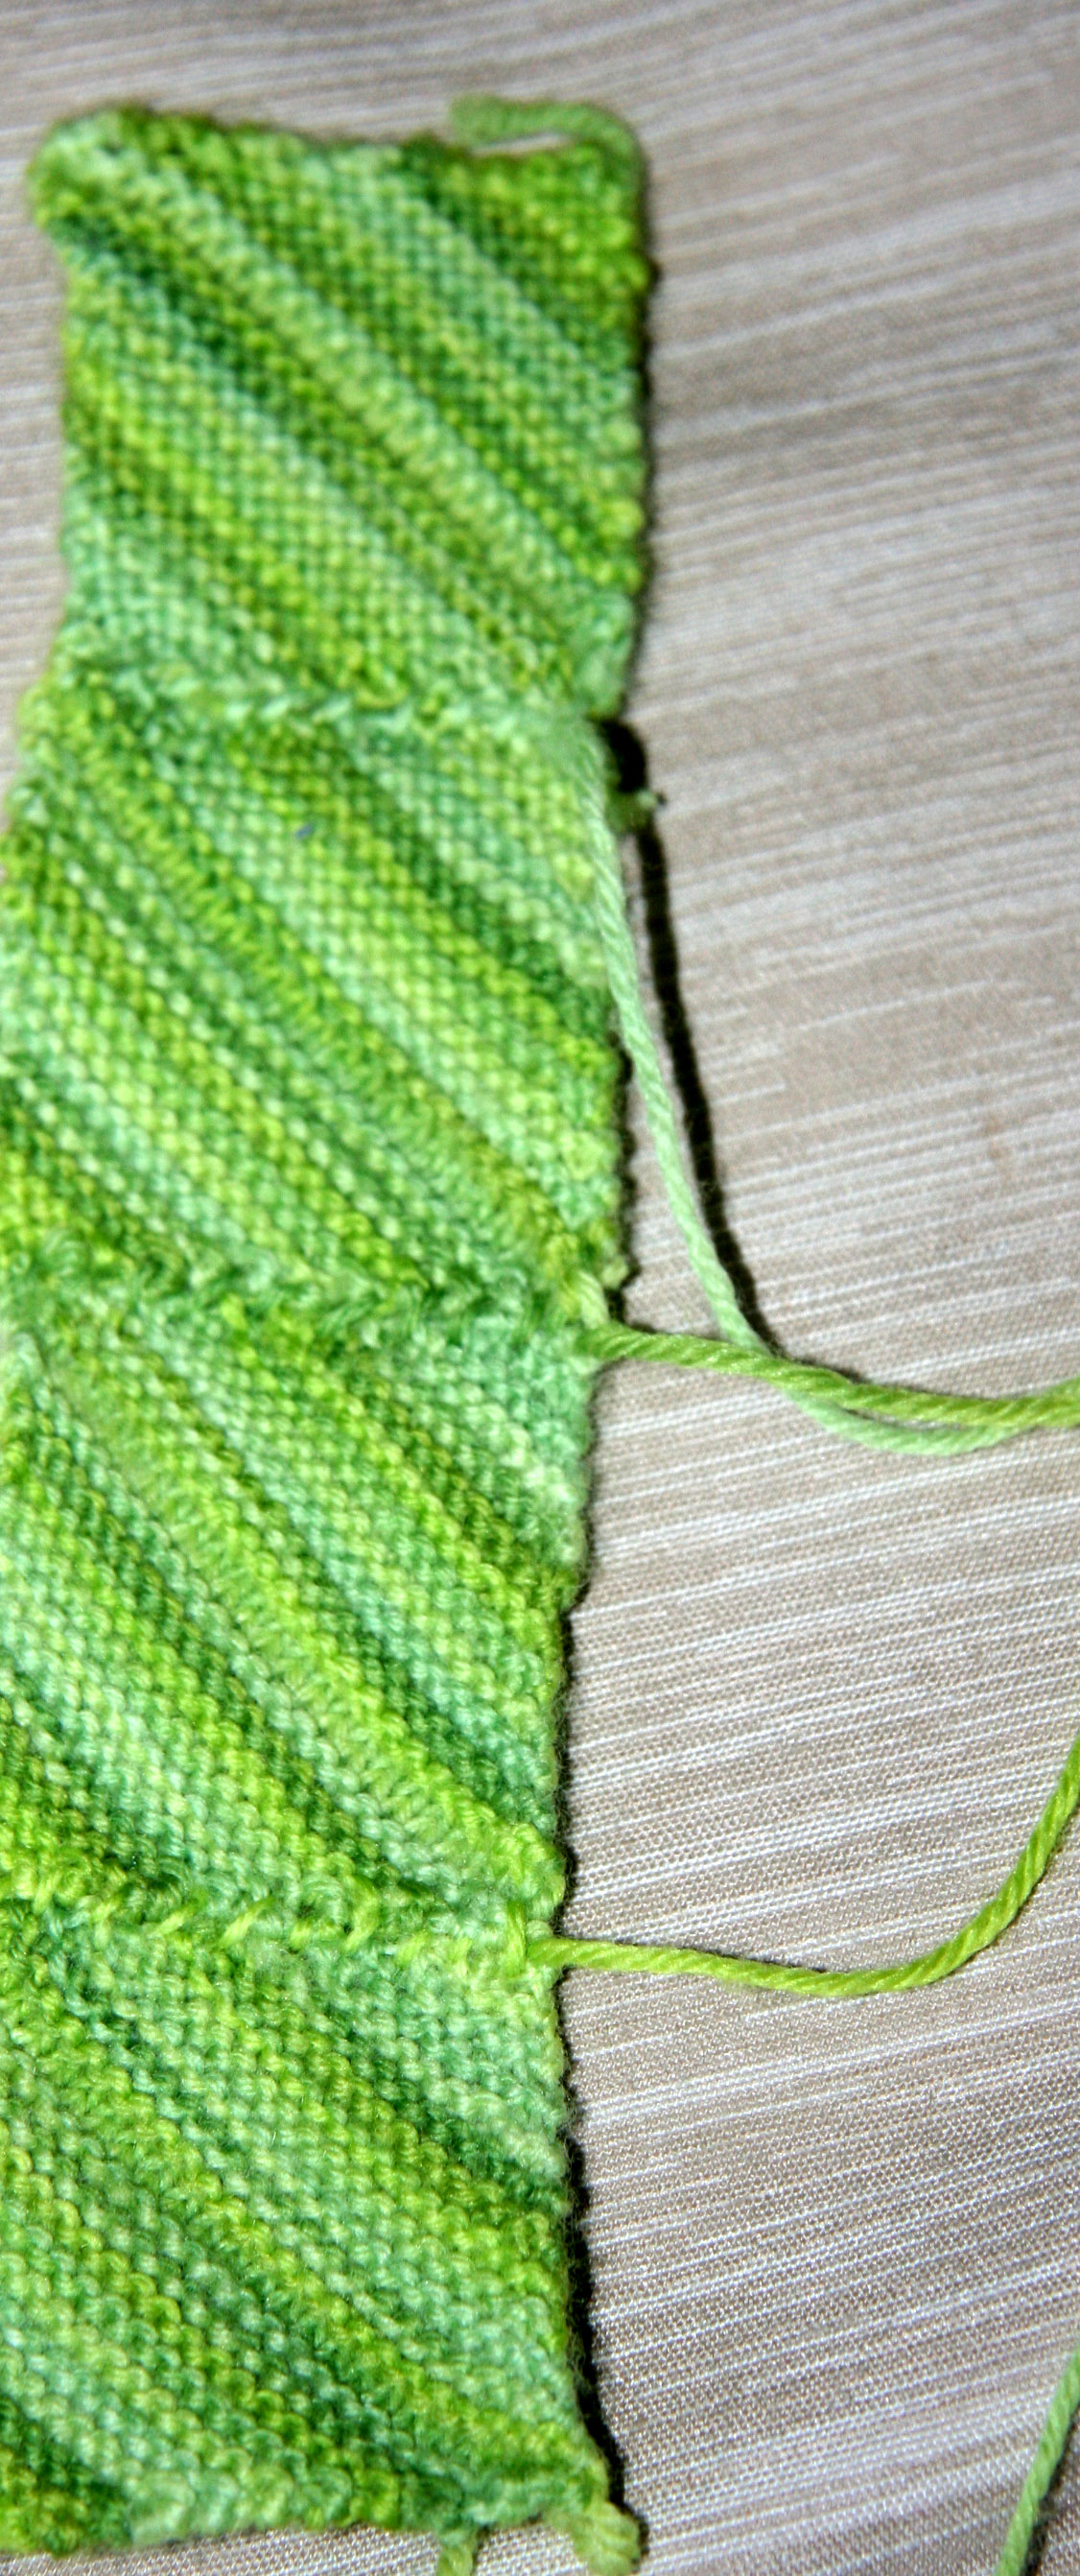
So I am practicing on this pretty dishcloth. Green is my favorite color, but I sure like this sunny yellow too. The color doesn’t look quite as light and sunny in the photo. I am enjoying this pattern.

And that’s a post about a dishcloth.
Monday knitting. I have several things going and then a kajillion more that I wish I could start right now. However, the goal: Finish current projects. Start new projects which utilize yarn already owned by me.
I am test knitting a purse for a friend. The pattern calls for cotton yarn. I thought I’d try to be frugal in my cotton yarn purchase, so I am using the old basic washcloth Sugar ‘n Cream cotton from Hobby Lobby. It’s good sturdy stuff. I was afraid it would make my hands sore after awhile, but it really hasn’t. Patti has all sorts of fun colorwork going on in this purse. I’ve started with the dots section.

I love the different colors. I have two more dot colors to add. I think they are going to be purple and yellow. She’s written a great pattern, and I am happy to be able to try it out for her.
I am also working on my “Make-up Socks” from Joy of Sox. These have gotten a little comical. It’s hard to tell from this not so great photo (and I don’t have the socks in any sort of length context – like sitting beside a canoe), but these socks are a tad long.

This is a toe-up sock. I was worried that I was going to leave the foot too short, so I think in my efforts not to do this, I instead have made it abit long (clown feet). I may have to find a person who has an even longer foot than I do. That may not be an easy task. It may work out to fit ok. We shall see. In the meantime, keep an eye out for people with really looonnnngggg feet.
I wanted to try to photograph some of the pretty detail in this pattern, so I put the sock onto my new cool Christmas gift sock blockers. I still am having trouble getting a photo that I am happy with. (with which I am happy!)

I’m about done with the heel on this sock. If I can not get distracted I should finish it soon. And then. Sock number 2. It may be July.
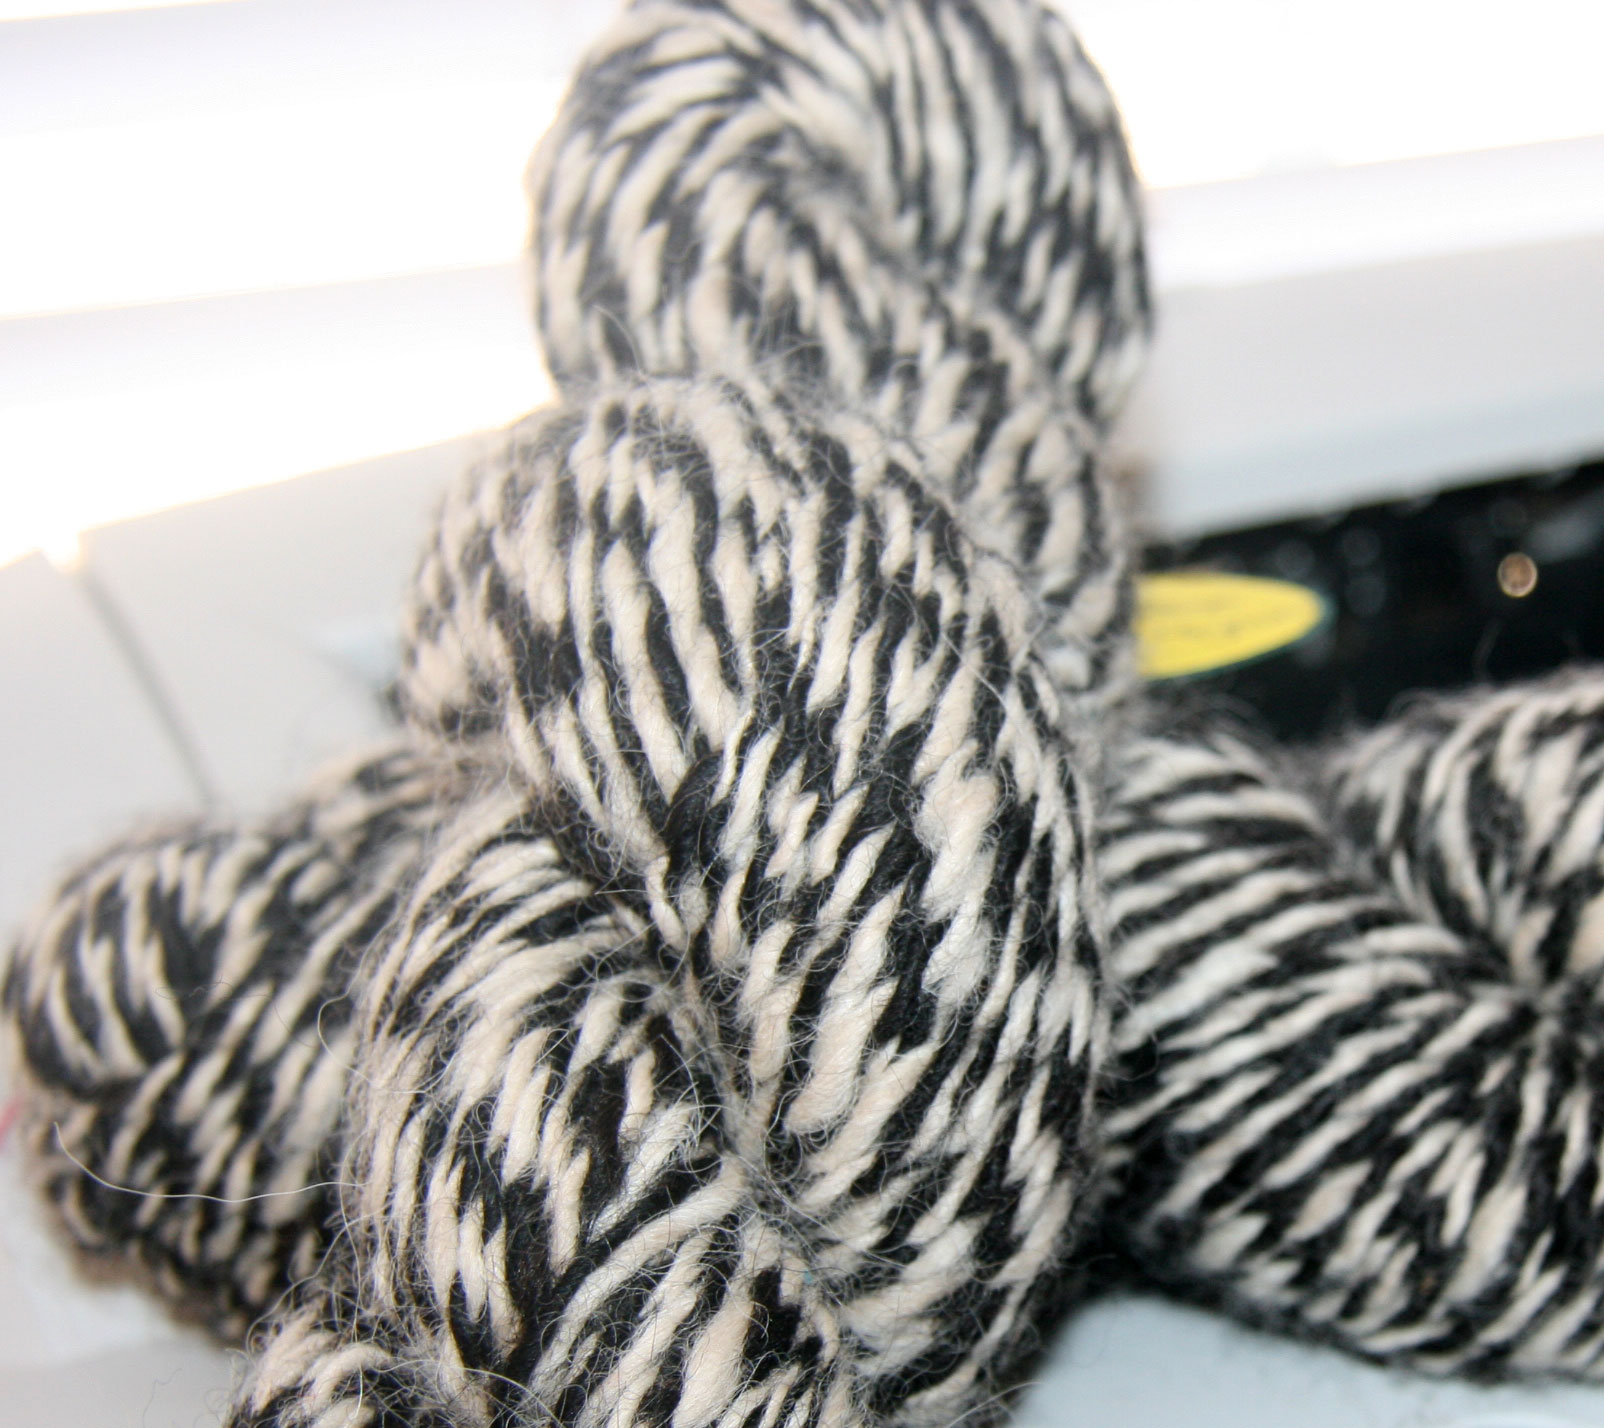
And finally. I bought this yarn in Ft Collins awhile back. It’s the dogbite yarn. I guess calling the yarn that makes it look like I have a negative association with it, but I really don’t. I love the fact that I know the names of the alpacas from which it came. I’ll rename it. It’s the Angel and Wyoming yarn. I don’t know what I should make with it though. Any ideas?
Today we headed over to the Wings Over the Rockies Air and Space Museum. They were having an airplane model show. Some of the planes were the small ones that you build, and then there were the big remote control powered ones that fly 200 miles per hour and look like this:

We didn’t see any of those in action. We’d really like to sometime. It was really interesting to learn about them.
So we walked around and looked at the planes, and people were demonstrating their different types of remote control planes.
Davey sat in the cockpit of some kind of bomber airplane flown in the Korean War. He wasn’t quite sure what to think about it.

I thought this giant Earth globe thing was really neat too.

It rotated. I think I am the only one who really enjoyed watching that. So cool.
We had lunch at a fun hot dog place called Mustard’s Last Stand. Isn’t that cute?
This afternoon we made crowns and hats. Davey and I went for crowns with pom poms. David created a hybrid bear/superhero helm. Davey found it all quite fun. However, it’s probably pretty obvious that the poor kid wanted no part of this photo.

I love the following picture. I need to frame it and put it on my desk for anytime I need an immediate smile.

I finished my hat and wrote up the pattern. I’ve named it the “Elfish Hat”. Here’s a link to the pattern: Elfish Hat. This is the hat that I replicated from the red one that I had bought years and years ago. This hat:

It’s a simple hat. Not much going on really, but it’s very comfortable and I think it’s cute with the I-cord and pom pom. I am happy with how it turned out. I was trying to get David to take some good pictures of the hat. Davey was not helping matters much, but it made for fun photos.

Here’s evidence of the little monkey as we tried to get another picture.

So the hat is knitted flat. It’s easy as pie. Garter stitch galore which can get old after awhile, but it’s a great “pull out and knit anywhere” knit. I still think it would be great for a beginner first learning how to decrease as well.
Here’s how the hat looks flat.

Once you are done knitting, you go right into a 3 inch I-cord. Then you make the pom pom and attach it. Finally you seam up the hat. I used a mattress stitch, at least I think that’s what it was.
One final photo of the little photo saboteur.

Last June I decided I was going to knit my way through The Joy of Sox. I was doing really well and knocking the patterns out one by one until November. At that time, I started thinking about Christmas things. I’d also started a pair in the book that were just totally tedious. So I put them aside for awhile.
Now, I’ve decided it was time to get going on the book again. The socks have been set aside for awhile, and now they don’t seem nearly as tedious. They are not a quick knit by any means, but I am enjoying them again. I am still not a huge fan of purling in the round, but it’s ok, and this is such a pretty pattern. I am almost to the heel of the first sock. It’s a toe-up pattern. This is a terrible picture, but it gives a small idea of what the sock will look like.

An even greater “joy” in knitting is that David finally let me teach him how to knit. He’s really taken to it. His garter stitch already looks perfect and even. It doesn’t surprise me. He’s doing his first scarf. (He is calling it a potholder currently.) He is using size 10 needles and is knitting with gray Lamb’s Pride yarn left over from his sweater. I have a few skeins of it left.
Here he is in action:

and here:
And here comes T-R-O-U-B-L-E in the form of little Davey. He grabbed yarn and was ready to take off. His expression is just plain ornery!

What he really wanted was the camera. So we let him go after it. He took this picture of Davey and me. Very goofy of me, but Davey took it so – it’s precious.

Speaking of knitting – Davey is asleep, and it is time to go knit a little!
Several years ago, and I think it was quite a big several, I bought this hat.

I got it somewhere in Colorado or New Mexico. I can’t remember now. I always liked it. David calls it my elf hat. But it’s not really very comfortable. The seams always start to itch after awhile. The hat is made out of some kind of fleece stuff, and the inside of the hat in general is kind of uncomfortable.
So I decided I wanted to figure out how to knit it and make it myself. Since it has those straight edges, I am going to knit it flat and sew it together. I am thinking I will just do garter stitch. So it will involve knitting only and then a gradual decrease on 2 sides. (That’s the only part that might hurt my brain a little to figure out how to do that.)
I’ve got a little pom pom maker that I got at Hobby Lobby last week. I am looking forward to trying out. I am not the greatest at homemade pom poms. I’ll probably try to attach the pom pom to the hat with an knitted i-cord? Not sure yet.
So I wanted to get a better picture. I really like this hat. It’s kind of big and roomy and warm!
First I did the old take a picture of myself in the mirror.

That didn’t do much for me. So then I enlisted the aid of Davey. He wasn’t much interested in pointing the camera at me. He got one shot that was ok. The light is not great, and it is blurry – but Davey took it so it’s precious.

Then he just went nuts with the camera. He started pointing it everywhere but at me and clicked as fast as he could. I tried desperately to get into the picture. (As usual, there’s curious Timber in the background.)

Finally, David came to my rescue and helped me out. However, the picture was kind of close-up, and I was feeling rather sloppy, so I did some generous cropping.

So that’s the hat in enough detail I think. I am going to knit it in a purple Cascade 220. The first draft anyway. We shall see.
So now it is time to make dinner! It’s meatloaf tonight. We always enjoy the old Quaker Oats “Prize winning Meatloaf” recipe.
The other day I was knitting away on my fingerless mitts. I was looking around on ravelry.com while I was knitting. I happened on this pattern called “Pinwheel Purse”. All I had to do was knit 5 small squares, join them together and then fold them into a charming little origami coin purse. Little did I know that my attempt to do this would damage my self esteem and confidence and leave me wanting to attack those little squares with scissors to annihilate them. Ok maybe it hasn’t really damaged my self esteem and confidence, but I did want to attack the squares and I did feel really dumb.
Things were still easy at this point in the process:

No problems here either:
Ok that’s not entirely true. At this point, I’d failed at my first origami folding attempt, and I’d ripped the seams out of all the squares. This is attempt 2 at sewing them up. They are a little rough around the edges.
So then I resewed up my little box without a top.

Now here I am trying to fold and pin that little sucker down.

Then Davey took over the photography.

He got several photos of me trying to figure out how to fold that darn thing. I may have given up for a moment at this point:

I went back to work. Another nice one by Davey.

Finally, I had it all pinned down. The thing is not even 2 inches square. I pinned it and wet it down good. It’s been sitting for over 24 hours now, and it is still not dry. I think I oversaturated it in hopes that it would retain that shape well, but maybe more so that I can put off knowing if the darn thing worked.

Trying to figure out how to fold those squares into that little spiral-like shape was way too hard for my brain.
So here’s a more joyful stress-free photo: Davey in the bath. He lines up all his little guys along the edge of the tub. He talks and talks and makes up stories and scenarios, and we just listen. He forgets we are there. Well, until I decided I had to interrupt and get a few photos. He was good about it though. “Let me see the picture Mommy!”

It is done. THE SWEATER is done. wow. yay.
First things first. Today we had to take on the final step. This part had me more intimidated than any part of the project. The installation of the zipper. Luckily, I had my helper by my side.

He helped me with the stitch markers.

He handed me pins.

He took pictures for me.

He provided me with great moral support.
I ended up using a little bit of this and that from several of the zipper tutorials. I will have forgotten how I did this by tomorrow, so for future reference, I am going to give a brief overview of the steps I took.
I used stitch markers to close the front up evenly. Then I basted the front closed. I then grabbed the zipped up zipper. I turned the sweater inside out and I pinned the zipper (closed) to the wrong side front. The basting from the front held everything together well, and I centered the middle of the zipper on the middle of the wrong side front. Next I whipstitched up both sides of the zipper. (right side of zipper was facing the wrong side of the sweater.) Then I removed the pins. I turned the sweater right side out, and I removed the basting.
At this point some tutorials suggested turning the sweater inside out again and sewing the zipper down with a backstitch. The purl bee had a tutorial though that suggested backstitching it up the right side which is what I did. This way I could really concentrate on getting as close to the zipper edge as possible, but I could test my zipper along the way to make sure that it was zipping easily.
I have to say I am a little proud of myself.

I was hoping for a frigid photo shoot in the snow, but David wasn’t home until after dark so we had to settle for inside photos. It’s so cold out; this was probaby for the best.
It fits him well, and he likes it.

Davey got in the photos too, of course!

And here it is from behind.

I am feeling pretty thrilled.


